Your First Climate Chamber Purchase Made Simple: 10 Practical Tips
1. Define Your Test Objectives & DUT Features
Begin by listing the specific tests you plan to run (e.g., thermal cycling, humidity soak) and the device under test (DUT) characteristics: size, weight, and material sensitivity. Clear objectives narrow your options immediately.
.
Identify primary applications—R&D versus production QC—and any special requirements, such as vibration integration or rapid transition ramps.
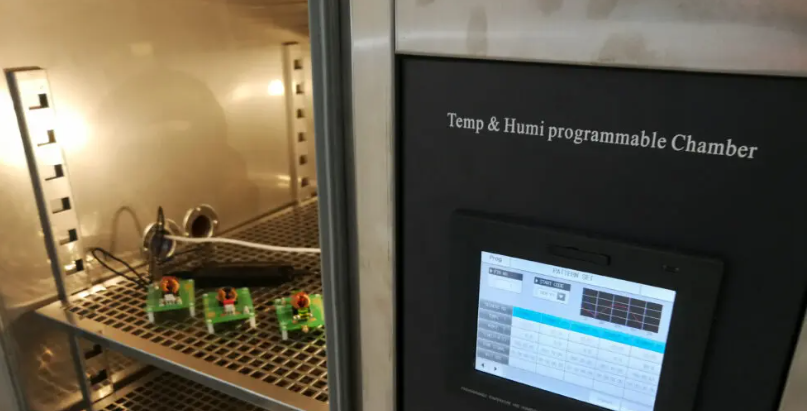
Temperature and humidity test
2. Determine Required Temperature Range
Decide on both minimum and maximum temperatures. Common ranges are –40 °C to +85 °C for electronics and –70 °C to +150 °C for military or aerospace.
Always plan a safety margin: if your highest expected test is +85 °C, consider a chamber rated to +100 °C or above to future-proof your investment.
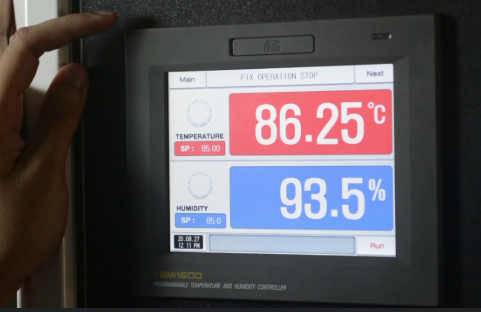
Temperature and humidity range settings
3. Determine Required Humidity Range
Most chambers offer 20 %RH to 95 %RH control. Low-temperature dehumidification below 10 %RH is more challenging and costly, so only specify it if your tests demand ultra-dry conditions.
.
Check whether humidification is via steam, ultrasonic, or atomized systems—each has pros and cons in speed, stability, and maintenance.
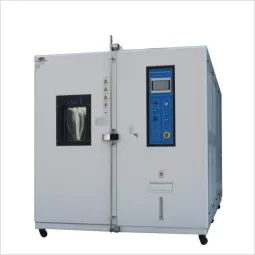
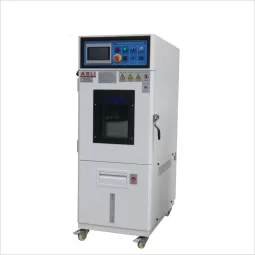
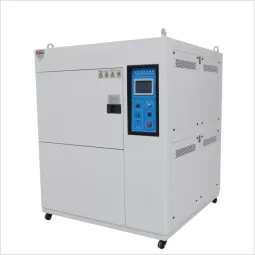
4. Select Chamber Size & Internal Volume
Your DUT volume should not exceed 20 % of the chamber’s usable space to maintain uniform conditions.
.
For multiple samples, ensure enough clearance for air circulation (at least 1 cm from walls).
Consider both length/width/height and door configuration (side-swing vs. vertical lift) to fit lab footprints and loading workflows.
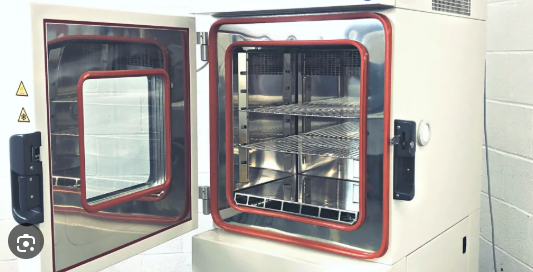
Temperature and humidity test chamber size customization
5. Evaluate Temperature Stability & Uniformity
Look for stability specs (e.g., ± 0.5 °C) and uniformity specs (e.g., ± 1 °C) over the full range. High-end models often quote 27-point measurements per DIN 12 880:2007.
Better stability means more reproducible results, critical in R&D validation and regulated environments.
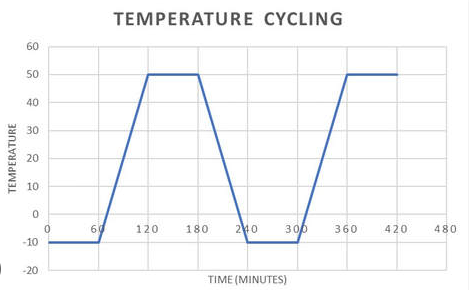
Temperature and humidity test chamber data curve
6. Assess Control System & Programming Flexibility
Modern chambers feature touchscreen or PC-based controls with multi-segment ramp/soak programming and real-time graphing.
Confirm support for:
Remote upload/download of test profiles
Real-time alarm notifications via Ethernet or USB
Modular I/O expansion for external sensors
7. Confirm Standards & Certifications
Ensure compliance with relevant standards: ISO 9001 for quality management; ASTM D313 for humidity tests; MIL-STD-202G for shock and vibration compatibility.
CE and UL markings guarantee electrical safety in international labs.
8. Review Cooling Method & Energy Efficiency
Decide between air-cooled and water-cooled condensers. Water cooling offers lower ambient heat but requires a plant water infrastructure.
Look for dual-compressor or inverter-driven designs with eco-mode to reduce power draw by up to 30 % during idle periods.
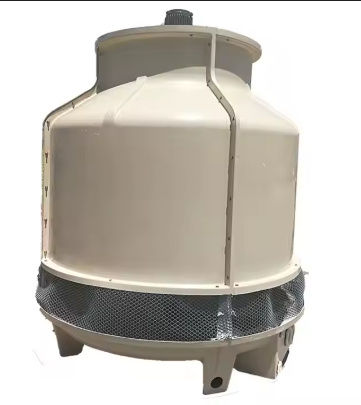
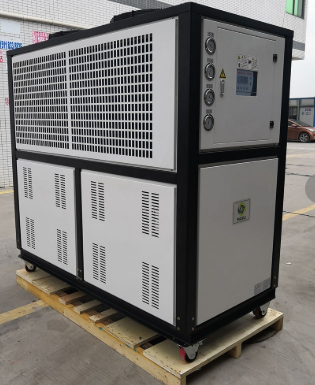
Water tower or air cooler
9. Ensure Data Logging & Connectivity
Data integrity is vital. Seek chambers with built-in multi-point data logging, USB/SD export, and cloud connectivity for Industry 4.0 integration.
Some vendors offer companion apps and dashboards to visualize profiles, set alerts, and download reports automatically.
10. Plan Service, Calibration & Total Cost of Ownership
Calibration intervals and on-site calibration costs
Preventive maintenance packages
Local spares availability
Warranty length versus extended service contracts
A longer warranty and local support can reduce unplanned downtime by up to 50 %.
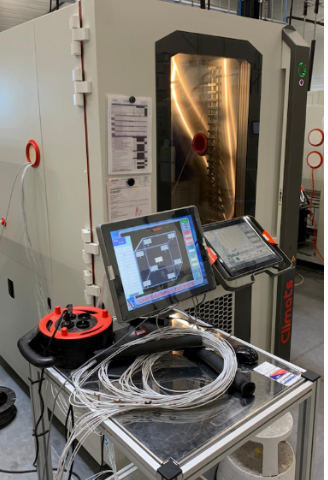
Multi-point calibration
Armed with this 10-step checklist, procurement professionals can confidently shortlist and evaluate temperature & humidity chambers that align with both current testing needs and future growth. For a turnkey solution, look for vendors who offer detailed spec sheets, virtual demos, and customizable service agreements—so you get exactly the performance and support your lab demands.
